Posts tagged DIY projects
Go ahead, play with your food
12 years ago
I love DIY projects – especially when I have all of the supplies on hand and the steps are easy to follow.
When I’m feeling crafty (or when I want to kill some time), I visit Honestly…WTF for a little inspiration. I recently saw a post for a DIY Satsuma candle and wanted to share with you this simple and clever idea.

All you need:
Satsuma oranges (with stems attached)
Olive oil or vegetable oil
Serrated knife
Spoon
Matches


Satsuma oranges are known for their loosely attached peels, so the orange should easily be removed using a spoon.

Once the flesh of the orange is taken out, the pith connecting the outer stem should remain. The pith will be the wick of the candle.
Pour a few glugs of olive oil into the orange, leaving just the very tip of the pith exposed. Use the spoon to submerge the top of the pith into the oil for just a few seconds.
Tip: if you’re having trouble lighting the pith, it’s probably because it has too much moisture. Try letting the peel dry overnight (without oil).
 *All images from Honestly…WTF – my own images coming soon!
I attempted this project and used a tangerine instead (I didn’t have Satsuma oranges at home). The process was pretty simple, but I cheated a little – I wasn’t able to light the pith (I should’ve let it dry out overnight), so I dropped a tea light in for a similar effect.
I will definitely try making these candles again (but I’ll make sure to have the right oranges on hand) – how perfect are these Satsuma candles for a dinner party?!
1.25.12
As promised, I tried this project again, using Satsuma oranges instead of a tangerine. And I’m pleased to say that this was probably one of the simplest DIY’s I’ve done!

Honeycombs In Your Home
12 years ago
Hi there! I’m Jessica, a writer for Arcadian Lighting. Every day I get to discover beautiful, inspiring interior design ideas and light fixtures, and then get to share them with blogs like Style Bust.
I’m going to be sharing a wonderful design trend that first became popular in the 1960’s – honeycomb patterns! They’re fun, versatile, and classic. I hope you enjoy!

These creative DIY honeycomb shaped shelves combine style with functionality. The geometric honeycomb shape is interesting and unique, while also providing cute little ‘nooks’ to display your favorite pieces of artwork, tchotchkes, knick knacks or photos.

A colorful honeycomb patterned quilt gives this bedroom a fun, vintage feel. The quilt was made using old clothing – a perfect way to recycle what you already have, while making a colorful accent for your bedroom. The red floor lamp is just the right color for this room, as well.

This very eclectic bedroom features a honeycomb mirror that’s offbeat and unexpected. I love all the quirky accents, especially the strange pillows.

The neutral colored honeycomb backsplash in this kitchen is an interesting accent that draws on the ‘homey’ feeling of a beehive. I particularly like the modern touch of adding written words above the stove.

This cool and contemporary living room features a whole wall of honeycomb patterns in a fresh grey and pale blue palette. Random ‘combs’ have clear glass panels, allowing a fun way to see through to the next room. The organic shaped pendant lights are a clever touch, as well.

Honeycomb moulding is a particularly stylish and unexpected accent in any room. This ceiling adds a bit of texture and interest to what appears to be an all-white room.

The colorful honeycomb pattern on this fabric headboard really brightens the room and adds a playful element to this fresh bedroom.

This brilliant honeycomb mirror is mounted on a used pallet and placed over the mantel in a cozy little living room. The silver and amber-colored mirrors really create an eye-catching focal point.
Images 1 | 2 | 3 | 4 | 5 | 6 | 7 | 8
What do you think of honeycomb patterns? Do you use any in your home designs? Let us know! And be sure to stop by Arcadian Lighting for a wonderful selection of gorgeous lighting fixtures and wall lamps!
Cap-toe shoes: A little bit naughty, a little bit nice
12 years ago
This seasons cap-toe shoe trend has shoe lovers all over the globe uniting. Whether you prefer dainty pumps or biker boots, you’ll be sure to find the perfect cap-toe beauty to spice up your shoe collection.


Givenchy, Deena & Ozzy, Etro, Gianmarco Lorenzi
The metal cap-toe detail adds an unexpected twist to an ordinary shoe, but it’s also classic enough to wear for seasons to come.
And for those DIYers…you’ll love this DIY cap-toe project from Geri at Because I’m Addicted.
Homemade Yogurt Exfoliating Scrub
13 years ago
Back in my days as a retail slave I worked down the hall from Lush Cosmetics. I loved their products but I dreaded entering the store every time. I am horribly sensitive to scents. Every visit to Lush resulted in an empty wallet and screaming bad headache. I still cannot make it through the perfume section of The Bay without feeling nauseous. I decided while in makeup school to bypass the whole skin care shopping experience and see what I could figure out on my own. I love to cook, so I began focusing on creating DIY skin care products that I could make out of the basic pantry items I had on hand in my kitchen.
It appeals to my crafty, pioneer-like nature.
Did anyone ever watch Pioneer Quest on PBS?
Aww! I miss history-centric reality television. So deliciously nerdy! Why on earth is Fear Factor making a comeback and not 1900 House?
Sorry… got sidetracked.
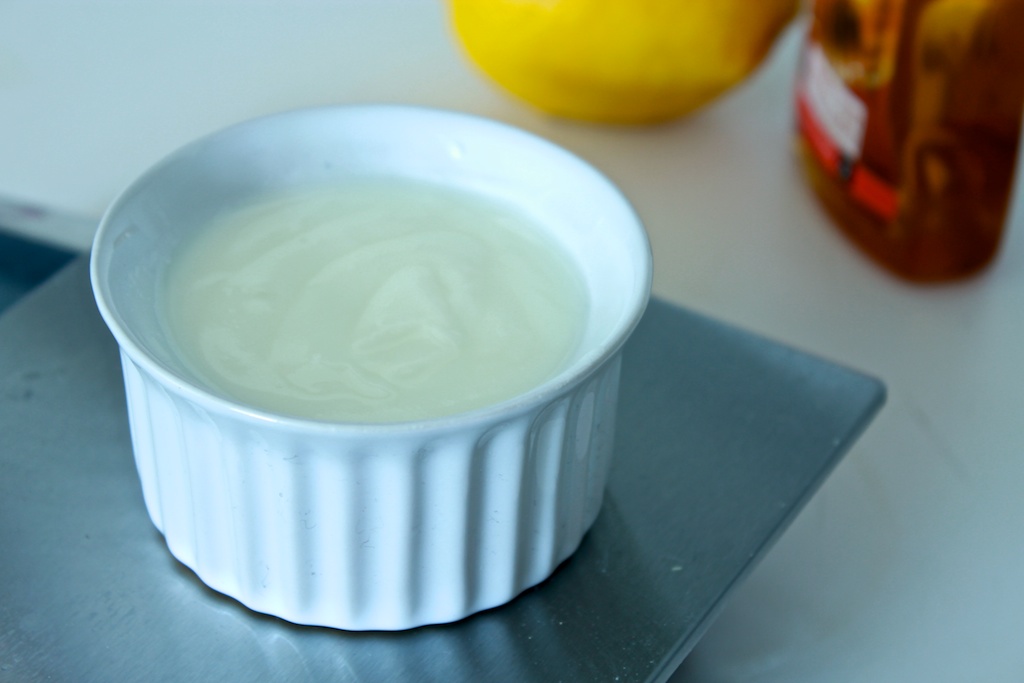
Anyway, without further ado here is the recipe for my favorite homemade exfoliant, complete with a refreshing, non-disgusting scent. This simple scrub takes a few pantry items to make and about ten minutes to mix. It contains plain yogurt, honey, lemon zest, and almond meal. Each component is beneficial to your complexion in its own way.

Yogurt is the ultimate skin remedy for this time of year. Yogurt is rich in zinc and lactic acid; these components help close pores, remove dead skin cells and prevent and reduce the appearance of fine lines and acne. You’d have to buy ten products at outrageous prices to do all that and I’m not done; yogurt is perfect for summer use, because it tones down freckles (thanks, once again, to our friend lactic acid) and eases sunburns. The perfect beachside companion.
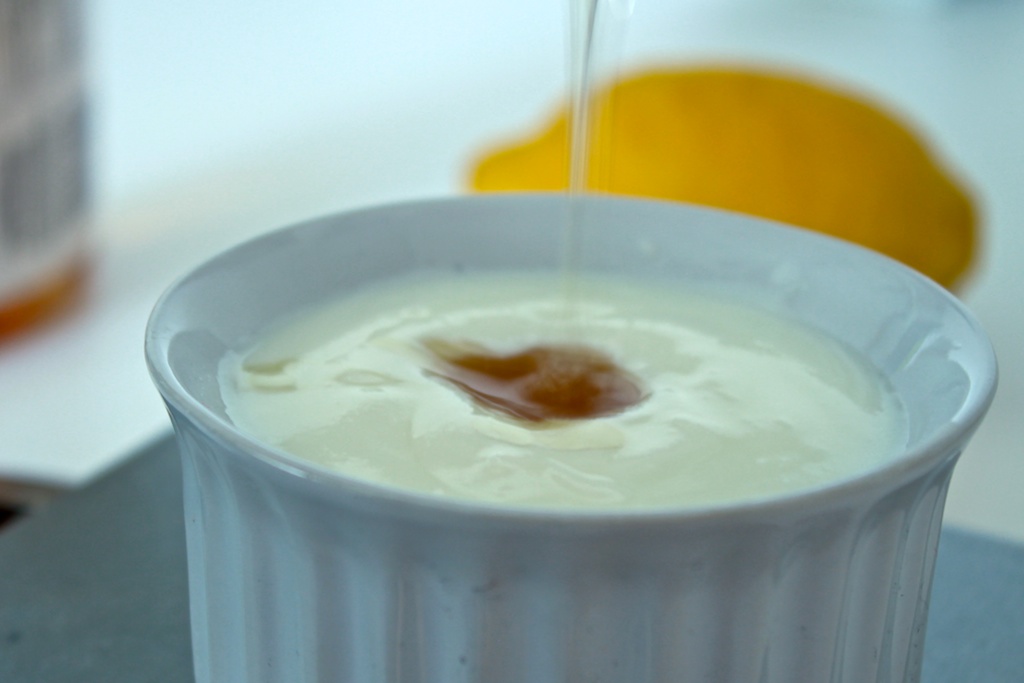
Honey has been used in skin care since the Roman Empire. Honey contains natural humectants, which makes it the perfect moisturizer. Humectants have the ability to bind moisture to the skin, helping it stay hydrated. Honey is also a natural antioxidant, which helps reverse the signs of aging. It also has anti-inflammatory and anti-bacterial properties, so it is a potent acne fighter as well.

Almond meal acts as the exfoliant in this scrub. Be sure not to press too hard when scrubbing or you could scratch your skin. Almond meal replenishes the skin’s natural oils, which are often lost during the cleansing process, resulting in dry tight skin. Almonds also act as a natural toner. How awesome is that?
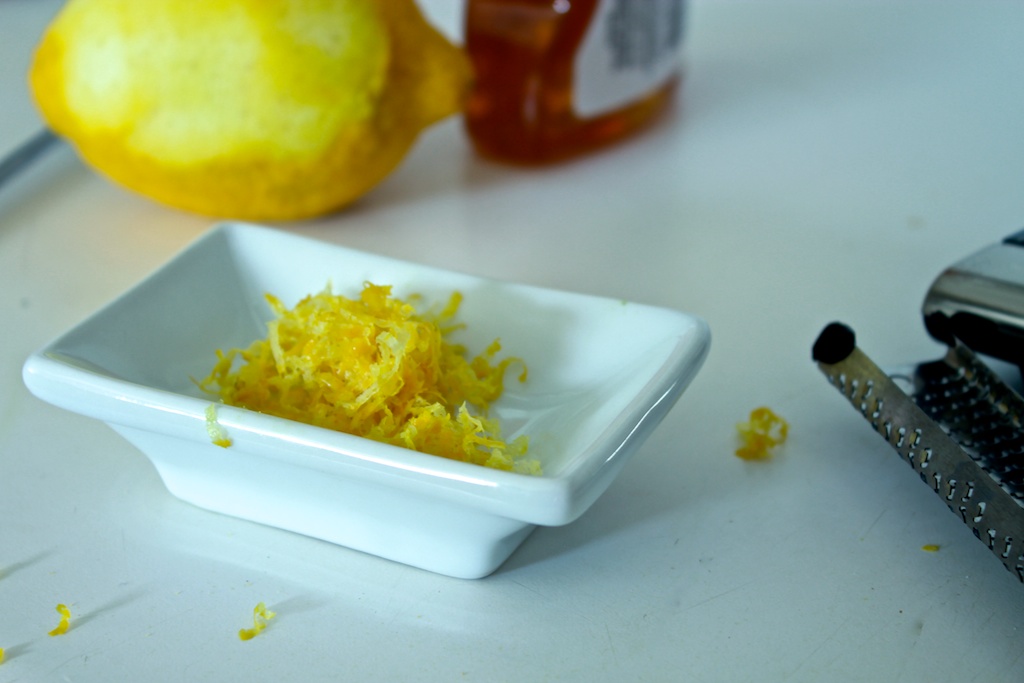
Lemon zest, like its friend yogurt, reduces the appearance of freckles and age spots. A little lemon juice can be used to lighten any skin discoloration on any part of your body (like your elbows). It removes dead skin cells and leaves behind soft even skin. To make the most out of the benefits of lemon juice add ½ a cup to your bath and soak for twenty minutes. Be aware that some skin types are sensitive to citrus acid. It’s best to try out a small, diluted amount of lemon juice on a patch of skin. Be sure to leave the sample to sit for fifteen minutes to ensure there is no reaction before proceeding.
Make sure to store the scrub in the fridge in a sealed container. The scrub should keep for approximately two weeks.

Yogurt scrub:
3.5 oz of plain yogurt (Greek yogurt works best)
Zest of half a lemon
1 tbsp honey
2 tbsp ground almonds
Directions:
Place all ingredients in a small bowl and stir to combine.
Apply to a damp face in circular motions working from the center of the face out.
Rinse with warm water and towel dry.
DIY Holiday gifts
13 years ago
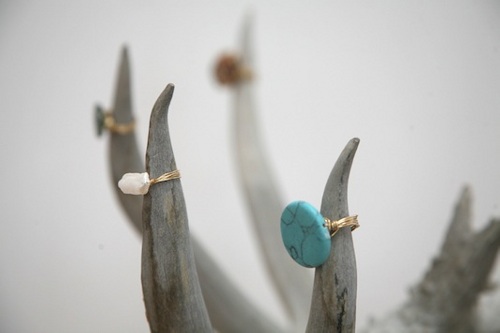
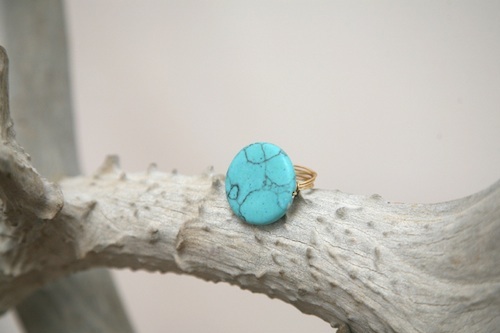
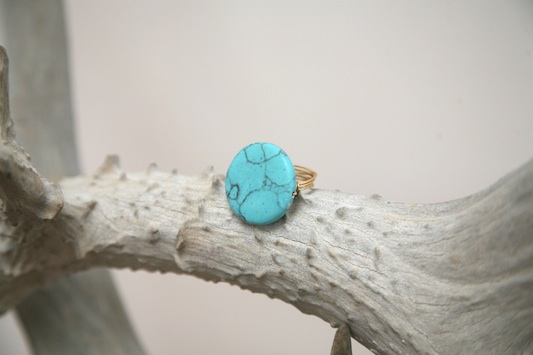
Looking for a fun DIY jewelry project for those cold and rainy days this winter? Or perhaps a last minute DIY Christmas gift for your best girlfriend (don’t worry, you’re not the only procrastinator). There’s nothing more special than wearing something handmade!
You can find wire wrapped rings at pretty much any boutique, but you you’ll have to pay a pretty penny for these little accessories. So, why not put on some good music, get your friends involved and let those creative juices flow?! It’s fun, easy and affordable.
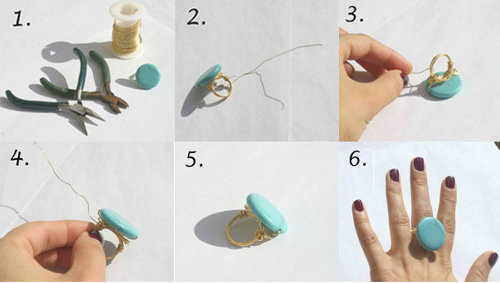
Materials needed for DIY wire ring:
– 2 ft of 22 gauge metal, silver, or gold wire
– 1 Semi- precious stone bead of your choice
– A ring mandrel (used to form rings of your desired size)
– Wire cutter
– Flat nose pliers
– A good grip
Few easy steps:
– Begin by wrapping one end of the wire around the mandrel four times.
– Keeping the wire band wrapped tightly around the ring form, string the bead through the long end of the wire and wrap it three times tightly around the 4-layered band, at the end closest to the beads hole.
– Continue to wrap the wire four times beneath the stone, around the wire going through the bead. This will create a platform where the stone will sit.
– Then, again tightly wrap the wire three times around the 4 -layered band closest the beads hole.
– Finish by cutting the end of the wire and pushing it flat with your pliers so that it doesn’t poke you.