Posts tagged nails
Nail Colors for Winter 2012
12 years ago
New nail polish colors….need I say more? Let’s start:
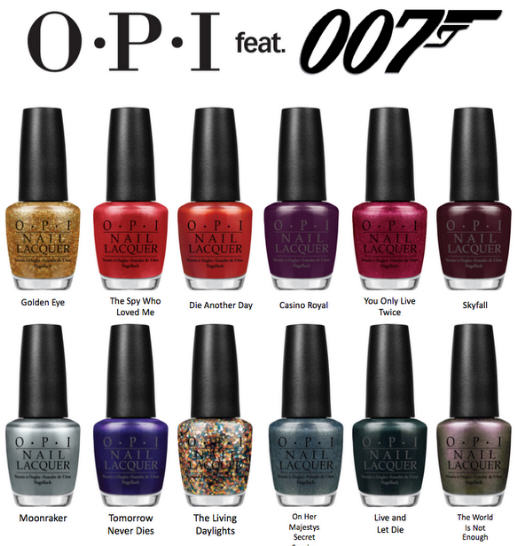
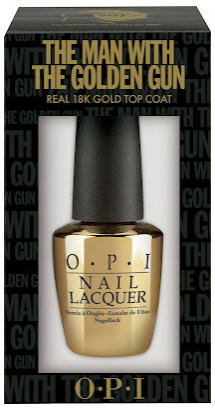
OPI
Absolutely gorgeous shimmering metallic colors in homage to the new James Bond movie. As part of the collection OPI is featuring “The Man with the Golden Gun” a top coat with real 18k gold flakes that adds a gold leaf texture to any color.
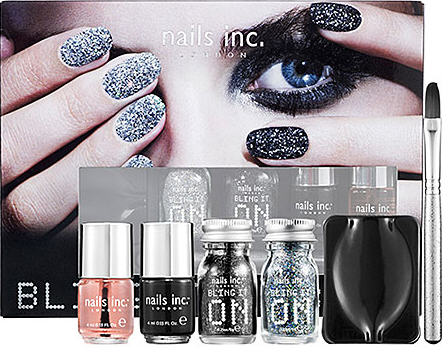
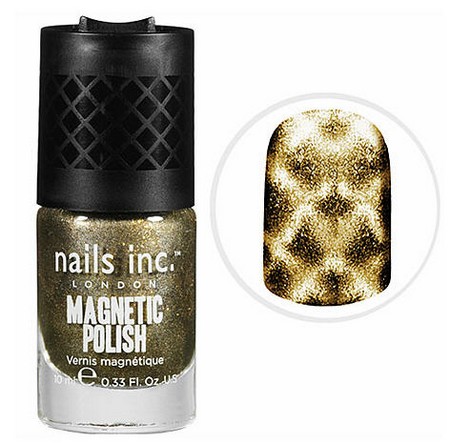
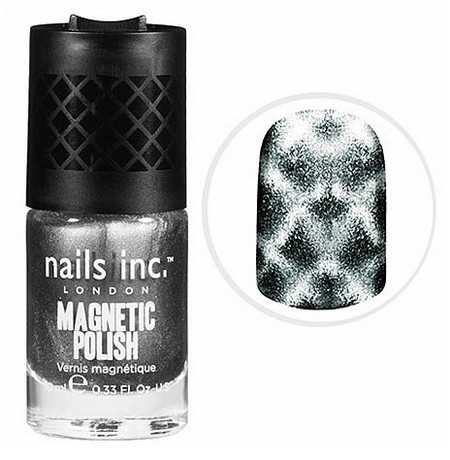
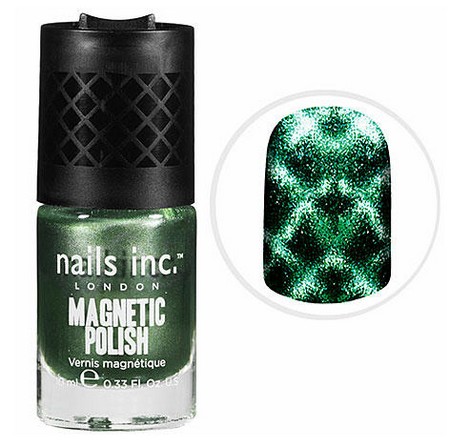
Nails, Inc
A great way to add embellishment to your nails, I have similar kits and from experience I can tell you that people will touch your nails!
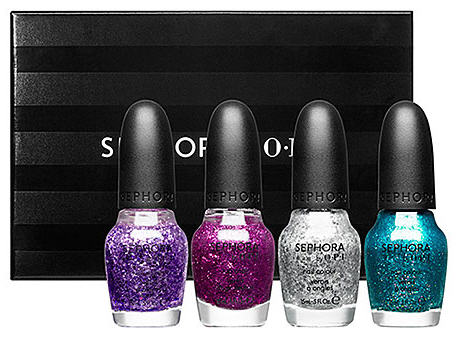
Sephora by OPI
Glimmering mix of purple, silver, magenta and turquoise top coats to be used on top of any color or on the bare nail.
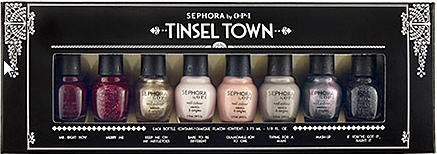
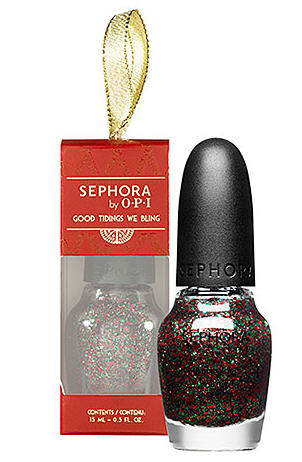
Sephora by OPI
This amazing set will get you ready the holidays with a mix of Sephora by OPI’s bestsellers, trend shades, and basics.
Lovely and perfect for the holidays a top coat with red and green glitter. This would be perfect to enhance Christmas nail art!
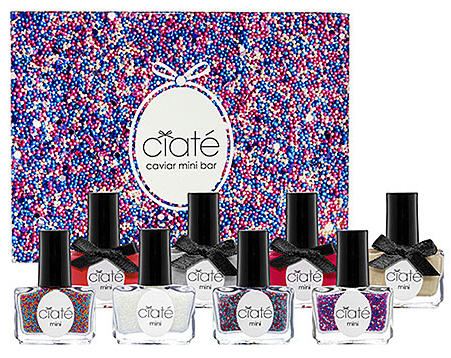
Ciate
This is such a great value, in this set you get four nail polish colors and four caviar pots, great to mix and match!
So far I’m drooling over the Skyfall collection, I’m powerless, I need to get some of them!
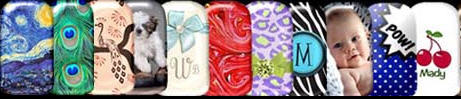
Inspired Nails – Nail Art Decals
12 years ago
One more post about nails and then I’ll move on, promise!
I’m subscribed to a site called Bellechic.com its a great online boutique that showcases one artisan at a time. Many of the products can be found at websites such as Etsy.com, but at Bellechic you get the items on sale! Thanks to this website I discovered Inspired Nails, they have the coolest nail decals at great prices!
Since this was the first time I used Inspired Nails decals, I decided to go for the safe option and ordered a few of the Halloween black & clear accent decals to try them out. This is what I got in the mail.
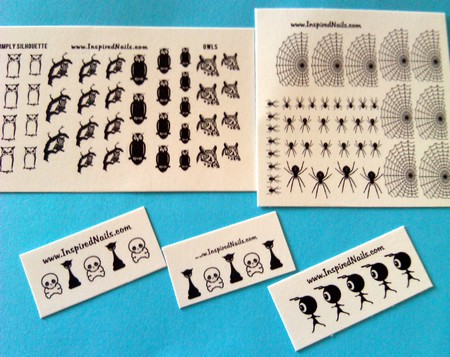
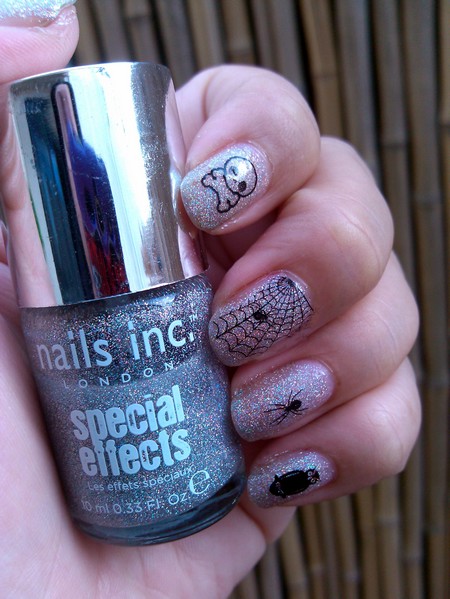
In this case, the background nail polish color can be anything as long as its in a neutral or light color to give contrast to the black & clear accent decal. I choose Special Effects Holographic Glitter by Nails, Inc as the background.
The application was very easy, the instructions were clear and they even sent a few extras so I could practice. So far I’ve had them on for three days and they haven’t peeled off.
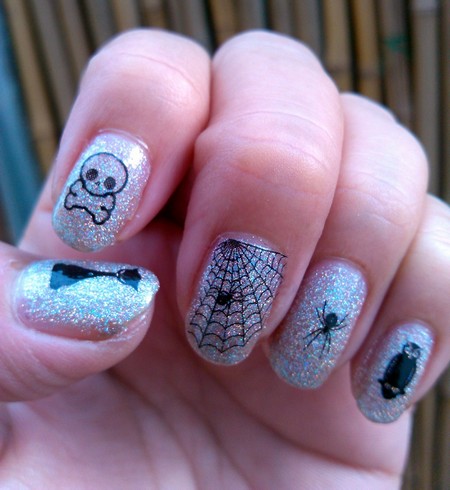
Inspired Nails also offers full nail decals with beautiful works of art, I plan to let my nails grow a little more and try one of them. Will be very hard to choose! They also offer full coverage nails which can be applied with glue or adhesive tape, French tips, toe tip and the full nail decal.
This is very affordable nail art that will look very expensive!
Summer Nail Trends
13 years ago
This summer’s nail trends are all about interesting designs, easy to do at home and bold neon colors. There’s a little something for every budget and taste.
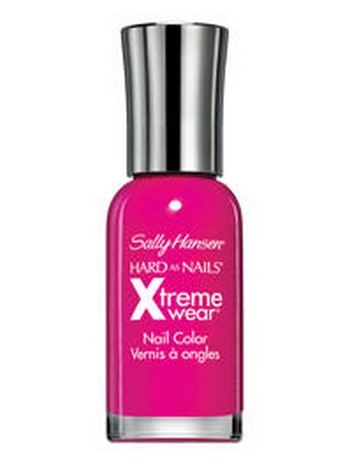
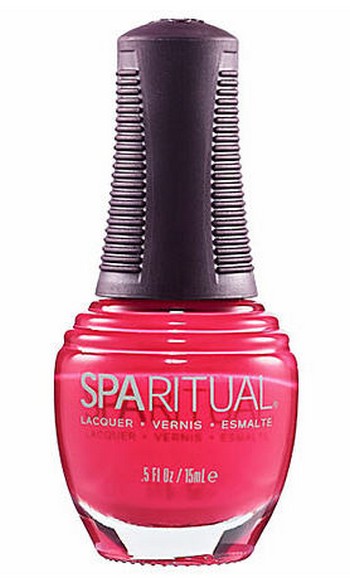
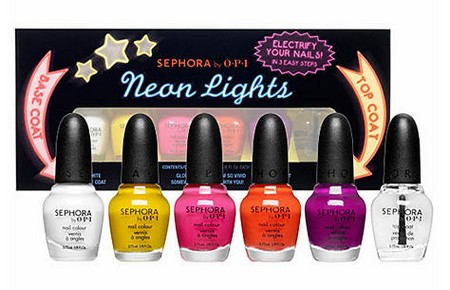
Neons
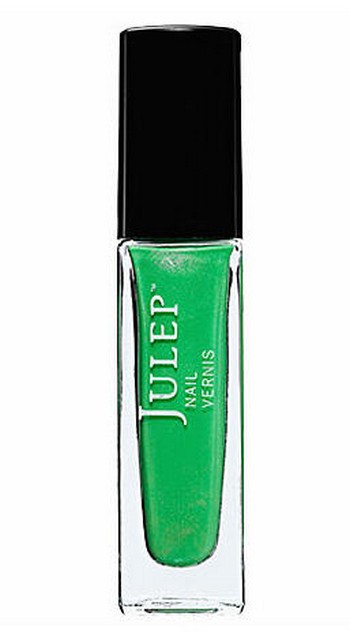
Most nail polish brands are offering awesome neon colors, like Julep’s Leah, Sephora by OPI Neon Lights, SPARitual’s Dreamsicle, Sally Hansen’s Xtreme Wear, and so many others. What makes neon look trendier now than how it was back in the 80’s is color blocking: combining different shades to make cubist-type designs.
Not long ago Nails, Inc. introduced Magnetic Nail Polish, a very unique way to create nail art by using a specially designed magnet. To make it even more unique, the new polish and magnet creates a fishnet effect. I bought the polish a few days ago and today I noticed it was missing the magnet (ugghh) will exchange it tomorrow, can’t wait to use it!
Sephora by OPI – It’s Real 18K Gold Top Coat
I may be a nail polish junkie, but in this case I can’t see myself buying this top coat. The polish contains real gold that will make any nail color pop. At $30 each, I think I’ll pass. But if any reader buys it, please let us know what you think!!

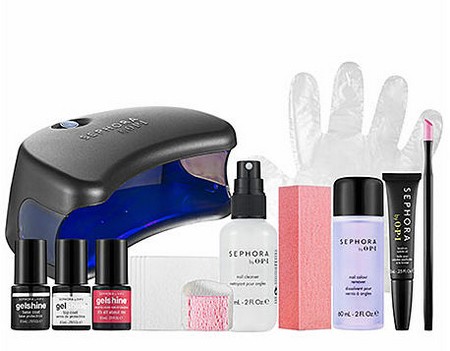
Gelshine At-Home Gel Colour System
If you wanted to get a gel manicure, the only option was to go to the nail salon, now you can do it at home! This is a great product for women who have little time to change nail polish colors or go to the nail saloon since the polish is supposed to last up to two weeks without chipping.
This can be a pricey option since the starter kit costs $159, plus the nail polish colors are $17.50 each. And then supplies will need to re-stocked. For some women gelshine at home will make sense because of the convenience, in my case, I change my polish twice a week so it would be a waste of a great product. The good thing is that this product is now available to us!
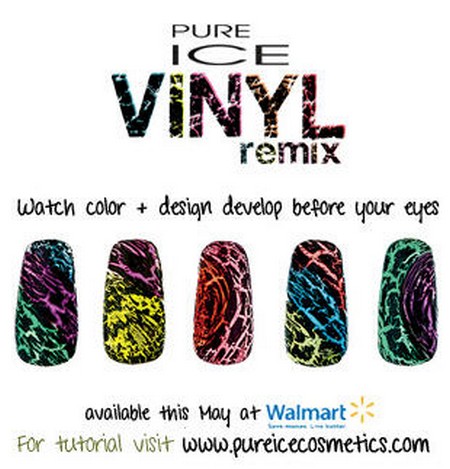
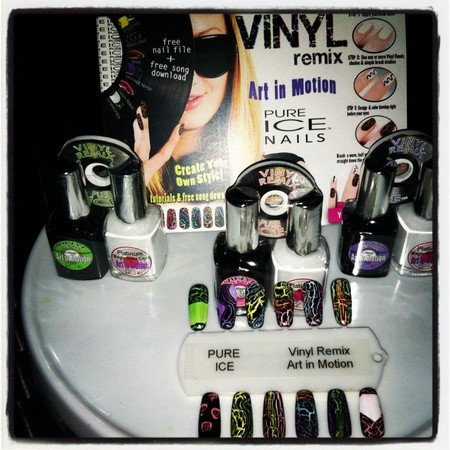
Pure Ice Vinyl Remix
13 years ago
Bari Cosmetics has introduced a new twist on crackle nail polish with Pure Ice Vinyl Remix.
The DJ inspired Nail Polish collection that allows you to do Art in Motion
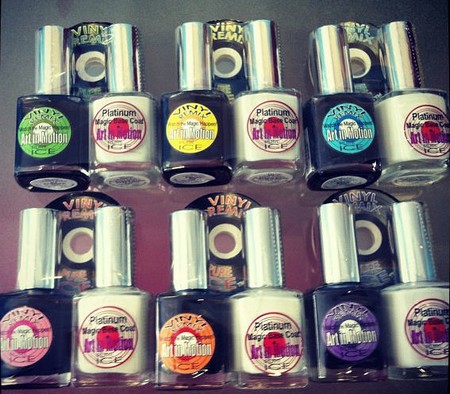
The innovative feature in this nail polish collection is that each polish, once applied, will dry, crackle and reveal a different color (green, pink, blue, purple, etc).
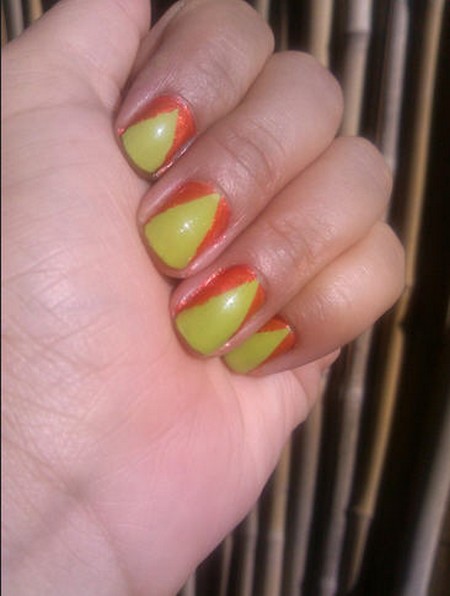
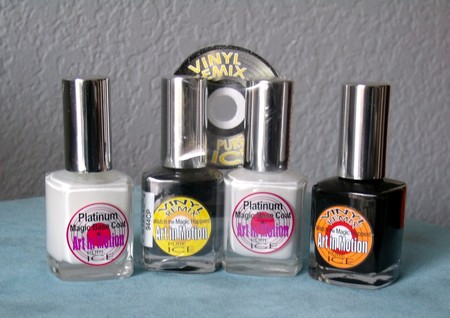
For better results use two or more colors, for my nails I’m using Rave (orange) and Emcee Me (yellow) colors.
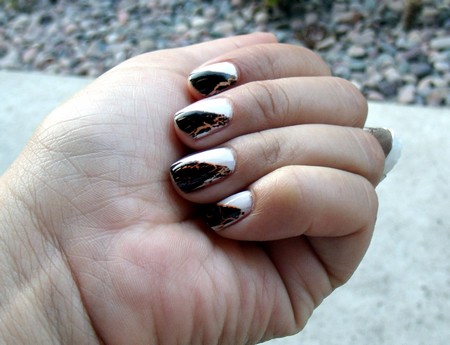
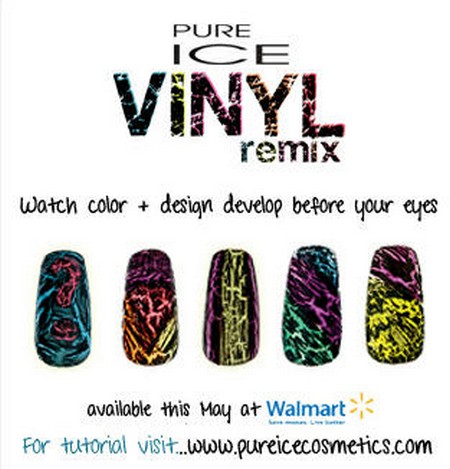
After you applied the base coat, apply two coats of the Platinum Magic Base Coat (white). You can apply the Vinyl Remix polish in any design you want, for example, I used Rave on one side on my nail and left the rest white, so now I have three different colors in my nails.
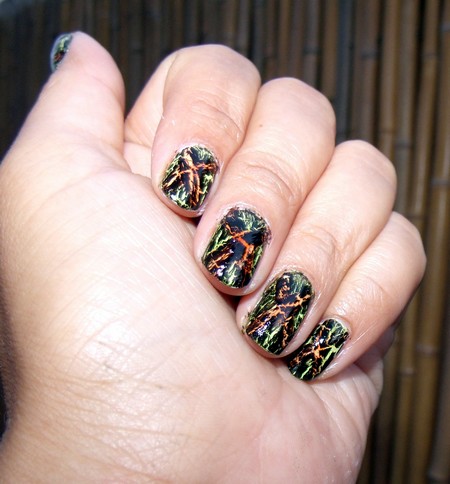
For this look I used Rave as a cross and added Emcee Me in the white areas
Pure Ice Vinyl Remix is available at Walmart, the nail polish duo comes with a very cute nail file. Because this is an affordable brand it will be easy to buy several colors and go wild with the designs.
You can add a top coat to protect the polish, which will make it last for 3 – 5 days without chipping or leave it as is for a matte look.
And now here are a few more nail design ideas:
Ciate Caviar Manicure
13 years ago
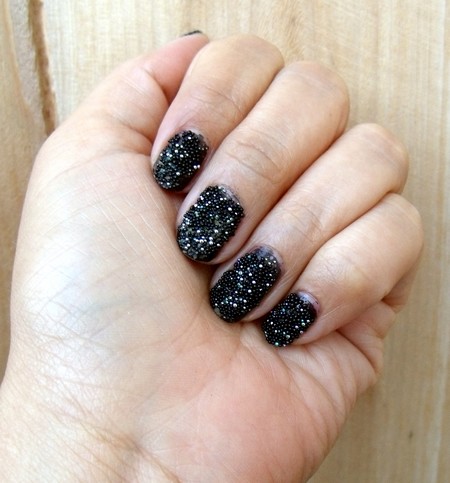
I have to admit this was completely an impulse purchase, didn’t wait to see reviews or give it a test drive, I saw, I bought and I loved! This is the new Ciate Caviar Manicure.
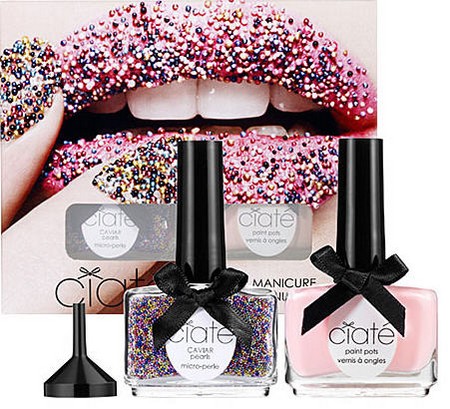
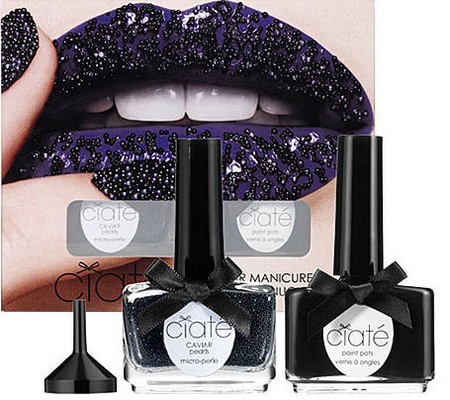
Created in London, this one-of-a-kind nail art innovation brings avant-garde catwalk nail styling to your fingertips. Featuring pearlescent beads for a 3-D effect, this kit includes everything you need to express yourself with your hands and become an instant nail connoisseur.
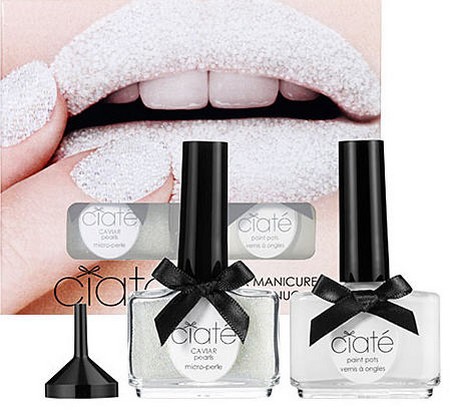
I couldn’t wait to try the polish, and so far I’m very happy with the results. It’s easy to put on, first step is the base coat, one coat of the nail polish and the fun starts with the second coat. One nail at a time, put on the second coat and carefully pour the beads on top of the nail, similar to how you would do glittering. The beads need to be gently patted down and once you’re done with all your nails, you will need to let them dry for 15 – 20 minutes. As an added protection for the beads I added a very thin top coat to the tips of my nails.
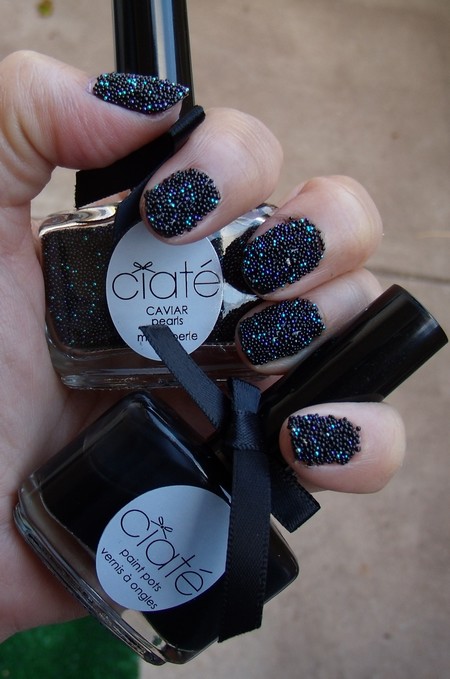
As I mentioned before, when I bought Ciate the Sephora site had no customer reviews, since then this product has been having mixed reviews, people either love it or hate it. And since the polish costs $25, when people hate it, they really hate it! The biggest complaint is that the beads fall off very easily, at least in my case I haven’t noticed that problem and I haven’t been able to stop touching my beads. The thing to be careful while adding the beads is to have a uniform layer of them, avoid small mounds that won’t adhere properly to the polish.
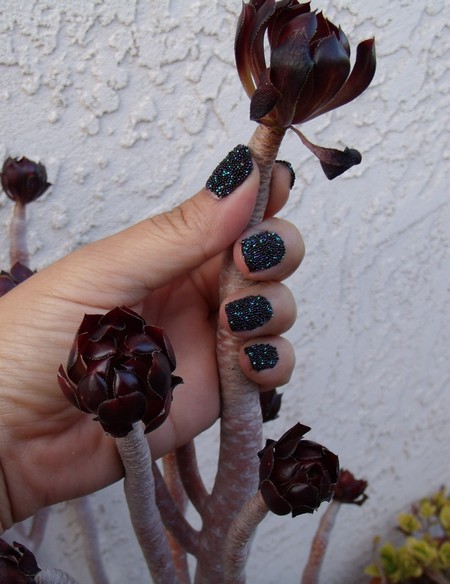
The beads can feel weird on the nail, like they’re thicker and so far the only thing I’ve done differently is wash the dishes using gloves, other than that it’s been business as usual with my nails…..except I’m showing them off with everyone I meet.
I’ll be posting an update 3 days from now to let you know how my manicure is looking. In the meantime…here are a few more pics of my Caviar Manicure.
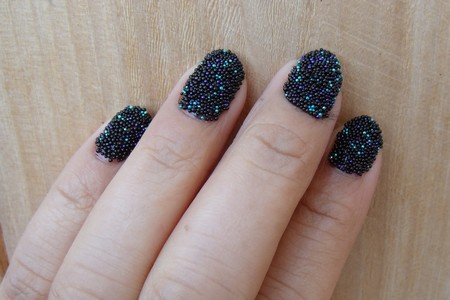
~ UPDATE ~
The pic below was taken 72 hours after I put on the caviar manicure, as you can see several of the micro-beads had fallen off. I took the pic Saturday afternoon and was going out for the evening, so all I did was add color to the spaces using a toothpick dipped in Ciate nail polish and that gave it a uniform look again. I did not attempt to re-attach more beads though.
Even though I did try to be careful with my nails, I wasn’t paranoid about them. When I finally took them off I did notice some damage to my nails, so I let them rest for a day and applied moisturizing oil on them. Here are a few additional tips:
- Add at least two coats of a base coat to protect your nails.
- When you apply the coat of micro-beads, make sure you pat down gently but firmly and create a uniform layer
- Give yourself time to do nothing after the manicure so the nails dry (watch TV, read or take a cat nap)
- When it’s time to take them off, press a cotton ball soaked with nail polish remover on top of the nail for several seconds before removing the beads, this will help the nail polish below the beads soften and will be easier to remove. Doing it this way will also cause less damage to your nails.
One more thing, be prepared to have your nails touched by people. They can’t help themselves! It’s human nature to see something different and want to touch it. Even though the Caviar Manicure is higher maintenance than what I’m used to, I will definitely be using it for my weekends!
Thank You very much for your comments, it always makes our day to know people are reading us!
Crackle and Pure Ice Duo
13 years ago
I always enjoy trying out new products and when it comes to nail polish, I get giddy with the anticipation. I recently checked out Pure Ice nail polish.
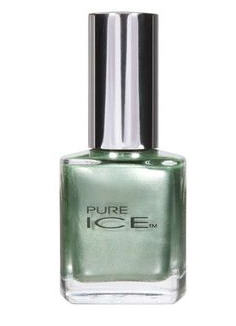
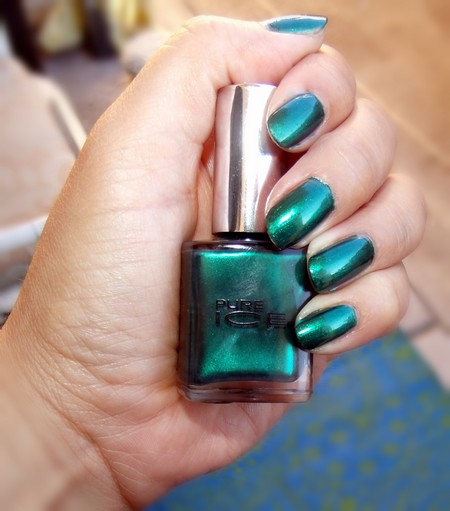
This brand is part of Bari Cosmetics, a company that brings us cosmetics that are not tested on animals as well as free of formaldehyde tolune, or DBP. I had a chance to try out their Winter Crackle & Pure Ice Duo (green with silver crackle) and the colors are just gorgeous!
First I put on a base coat and then 2 coats of the Metallic Green color, which looks awesome just by itself.
Then I added a thin layer of the Silver Crackle and a top coat.
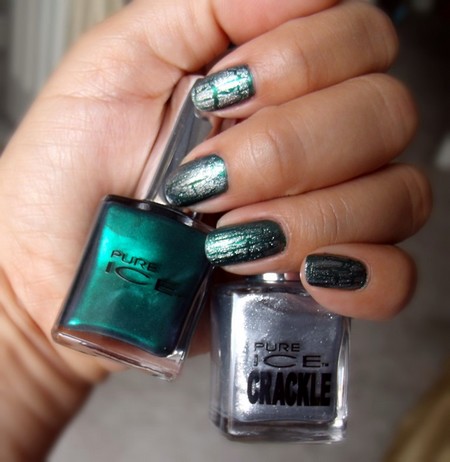
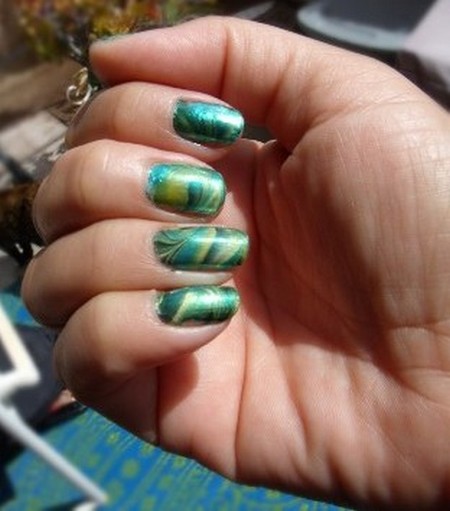
The end result was a great looking color which lasted without any chipping for three days, and I’m sure it would have lasted longer, but I have ADD when it comes to nail polish and I wanted to try out a water marble techique. Which I did, using the green nail polish as one of the colors, it looks so cool!
You can purchase Pure Ice at Walmart and Walgreens or directly at Bari Cosmetics site. A high quality product at a very affordable price.
Coming soon Pure Ice will be launching Vinyl Remix:
DJ-Inspired collection from Pure Ice that has 6 matte duos. You can create different patterns by swirling your brush stroke. It’s a color remix!
Can’t wait to try it!
Nail Polish for Spring / Summer 2012
13 years ago
Here we are, yummy new colors ready for the season. The general trend is bright, neon colors, except for Orly which brings a very subtle pastel collection. Nothing glittery, but at least I spotted several darker colors for the goth girl in me!
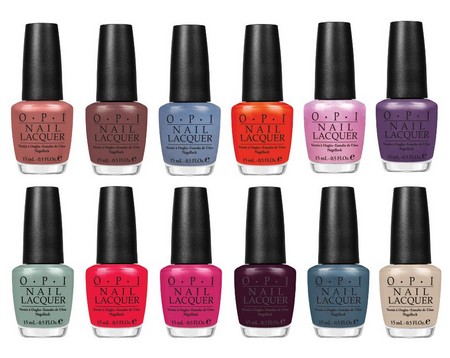
Holland Collection
- Wooden shoe like to know
- Thanks a wind-million
- Pedal faster Suzi!
- Kiss me on my tulips
- Gouda Gouda two shoes
- I don’t give a Rotterdam!
- Vampsterdam
- Red light’s ahead…where?
- I have a herring problem
- A roll in the Hague
- Dutch ‘ya just love OPI?
- Did you ‘ear about Van Gogh?

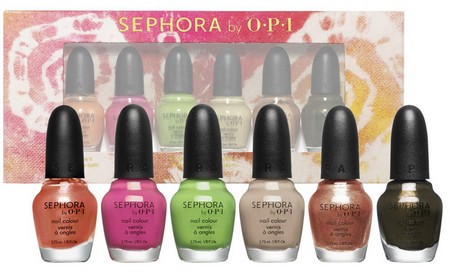
Bohemian Brights Mini Nail Colour Set
- Let’s Hear It For the Free Spirit! (pink/orange shimmer)
- What Aura Gonna Wear? (bright pink)
- It’s Totally Karma (bright green)
- Neutral Beauty (camel)
- That’s What Fringe Is For (brown shimmer)
- Happy Earth Day To Me (olive)
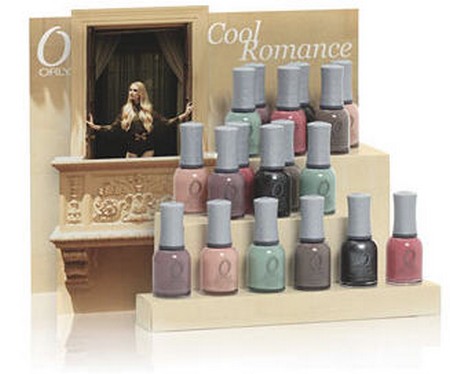
Cool Romance
- Prelude to a kiss
- Faint of heart
- Jealous much?
- You’re blushing
- Artficial sweetener
- Steel your heart

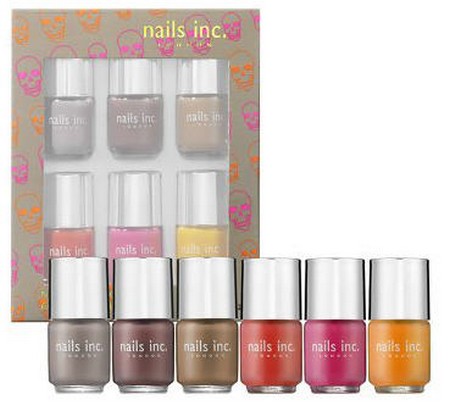
Neon and Nude Collection
- Notting Hill Gate (pink neon)
- Portobello (coral neon)
- Westbourne Grove (orange neon)
- Porchester Square (muted mushroom)
- Jermyn Street (perfect taupe)
- Cadogan Square (classic camel)
Illamasqua Nail Varnish
13 years ago
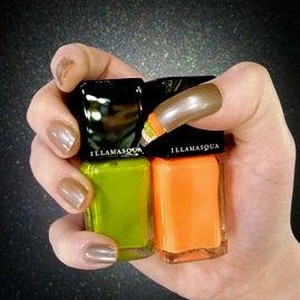
I fell in love with Illamasqua ever since I discovered their amazing Lipstick. Illamasqua is known for their intense and very bold make-up and when I noticed their Nail Varnish collection I just had to try it.
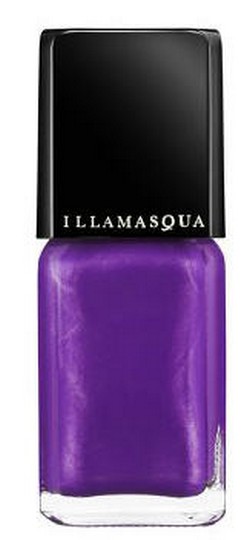
Leave your mark with bold, rich, vibrant colors that stand out. The formula is hard wearing and chip resistant and contains individual finishes from matte to high gloss. Apply two coats for high intensity and use with Illamasqua Nail Base Coat and Illamasqua Nail Top Coat for the perfect finish. Make a statement and talk with your hands!
The advertisement at Sephora promised a “rubber look” so I was intrigued. I used two coats of the color Vice (rich magenta/satin finish) with a base coat underneath. I wasn’t impressed with the matte look, and didn’t see it as looking rubber-like, so after two days I added a top coat which made the color pop and look very lovely.
The varnish itself is thick, covers well and doesn’t chip easily. The thing is, I can get the same quality from OPI, ORLY and Nails, Inc. at a lower cost (Illamasqua is $14, the others are $9.50 or less). So in this case, I would recommend to try it before you buy and decide for yourself.
As I was researching for this post I also saw on Illamasqua’s site a Handmade Toxic Claw.
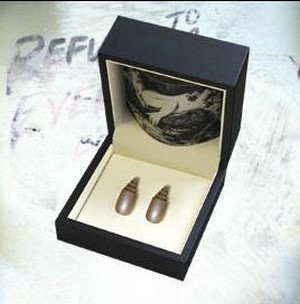
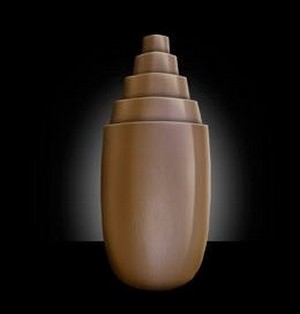
Individually crafted, each original piece is a miniature work of art that transforms your look. Designed to be worn on either thumb, customise your Toxic Claws with Illamasqua Nail Varnish for a versatile and truly unique finish. False nails will never be the same again!
Not sure what to say about this one, except it’s sure to be noticed!