Posts tagged face
DIY Skincare: Raspberry Honey Oat Mask
Over the past month I’ve been trying out a couple different DIY facial scrubs. My favorites so far are ground coffee + olive oil (equal parts) and sugar + honey (equal parts). Both seem to work very well for my skin (combination skin type) and have become part of my weekly routine!
I wanted to step up my DIY skincare routine notch. So, today I made a raspberry mask. After a full week of eating raspberries for breakfast I was tired of the taste, plus they were about to go bad. I figured the next best use of them would be on my skin. And boy was I right.
Raspberries are rich in vitamin C, B vitamins, potassium, magnesium, manganese, iron, and folate. They are loaded with antioxidants and essential fatty acids all of which are good for those of us with combination skin because their properties help control oil and dryness.
The easiest raspberry mask I could find online was the Raspberry Honey Oat Mask. It uses just three ingredients, in equal parts.
- ½ a cup of red raspberries (if you can’t find fresh red raspberries, try frozen ones instead)
- ½ a cup of honey
- ½ a cup of rolled oats
Place the ingredients into a food processor, and process until the mixture looks like a puree (note: my oats didn’t puree, so my mask was a little clumpy). Next steam your face with a hot wash cloth for 1-2 minutes to open the pores. Then take a handful of the homemade mask and lather it all over your face. I used about 2 tablespoons. Leave the mask on for 15-20 minutes. Be careful if your mask is clumpy like mine, you might lose a couple of oats around your house!
This mask is packed full of antioxidants, natural antibiotics and moisturizers, and helps exfoliate, tone, and cleanse the skin and face right up. The honey helps moisturize your skin because it contains natural moisturizers in it, and it helps fight acne and prevent it because it contains natural antibodies in it that kill the germs that cause the acne in the first place. The rolled oats help absorb unwanted oils and impurities from the skin while also lightly exfoliating it. I was impressed with how soft and oil free my skin felt after removing the mask. It also looked a little more toned and firm.
5 Step DIY Beauty Therapy Treatment
I don’t know about you, but I’m looking forward to a weekend of relaxing at home. I’ll be giving my skin some R&R after many late nights, long car rides and flights over the past few weeks. Below is the beauty routine I tend to follow at home. If you want to become less of a DIY-er and more of an at-home-expert, I recommend you consider beauty therapy courses.
1. Always start with a clean slate. Wash your face with a gentle facial cleanser, not soap. I begin with a dry face. In a circular motion I rub the cleanser until it becomes a bit dry (about one minute). Then, I get my fingertips wet and continue rubbing in a circular motion for another minute. Next I rinse with warm water, using a wash cloth to make sure all the cleanser residue wipes off.
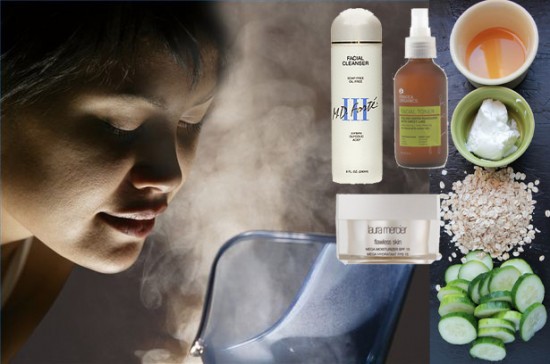
2. Facial steaming is great for skin, but it’s so boring. Buck up, and do the stem though, you’ll feel the difference! Add green tea, mint or rosemary to a pot of water on the stovetop. Once boiling, decrease the heat and bend over the pot for five minutes. Put a towel over your head to trap more heat int. Steaming is a great way to open pores and remove embedded dirt. It also hydrates skin. Added bonus, facial steaming is great for treating the common cold and bronchitis!
3. The best time to do a mask is after steaming. I usually go for a DIY calming mask, though there are tons of great options out there, how stuff works has a great article on 5 cheap, yet effective DIY masks. Ingredients needs for my calming mask:
- 1/4 cup plain yogurt
- 1/2 cup oats
- 2 tablespoon honey
- 1 cucumber
Mix everything in the blender, then leave on your face for 15 minutes.
4. Next, tone your face. Toners are great for removing excess oil, makeup and excess reside. I use this after the mask to make sure the mask has been completely removed. Pick the right toner for your skin-type.
5. Finally, finish the facial off with moisturizer. No matter what skin type you have, you need moisturizer to help improve your skin texture. Choose a moisturizer that is right for your skin type.
Three Little Wonders by Ole Henriksen
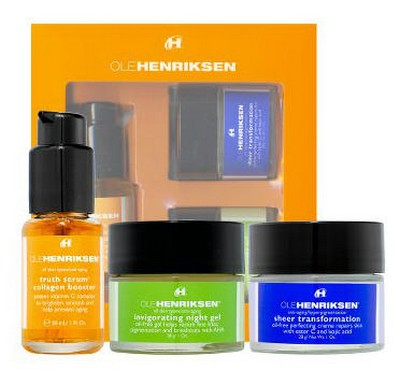
For the last week I’ve been using samples of the Three Little Wonders by Ole Henriksen. The trio of products are formulated to moisturize your face and neck, as well as provide anti-aging and re-texturizing benefits.
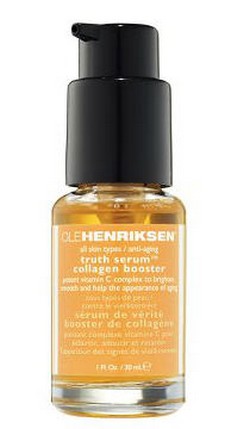
Twice a day you are to use the Truth Serum Collagen Booster, which is a high-potency vitamin C complex that prevents and corrects signs of aging while promoting brightness. The serum feels like a light gel which absorbs very quickly on the face and neck.
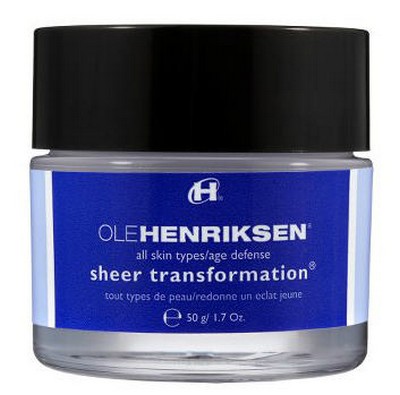
In the AM, after the Truth Serum, apply Sheer Transformation. This cream is also very light-weight, you might be tempted to think it’s too light, but let it absorb and you’ll notice your skin won’t be tight or feel dry. Sheer Transformation helps fade skin discoloration, nourishes and re-texturizes the complexion.
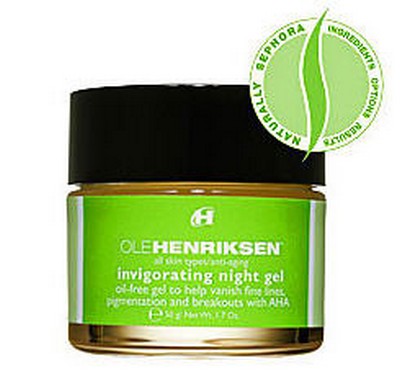
In the PM, after the Truth Serum, apply the Invigorating Night Gel. Over time this light-weight gel stimulates cell turnover, exposing a younger, firmer-looking complexion. This product is in the form of a gel, thicker than the serum, very similar to hair gel. Some people have found it sticky, in my case I liked the way it was quickly absorbed by my skin. I did notice the stickiness when I applied a thicker layer. It’s not what you would expect from a night cream, but it works!
After one week of using these products, I have noticed a difference. My skin feels a lot softer and I’m considering switching to the Three Little Wonders when my current face cream is finished.
The trio costs $70, which is a lower price than buying them separately. My suggestion as always is to try a sample first before committing to a purchase, and even though the bottles are only 1 ounce, a little does go a long way.
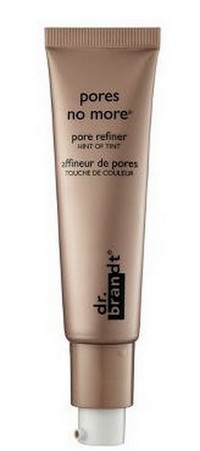
Dr. Brandt Pores No More Hint of Tint Review
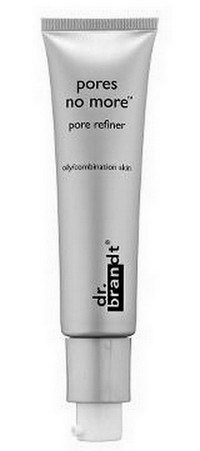
When it comes time to go out to the world, I like to show a nice face and concealing my pores in one of the steps I take that make a huge difference on my look. Now I have a new favorite: it’s Dr. Brandt Skincare Pores No More a pore refiner.
I’ve tried a sample of the product and I tried to make it last as long as I could and now I’m definitely going to buy the product. What I liked about the Pore No More is that it’s like putting make-up on. This is how I’ve been using it:
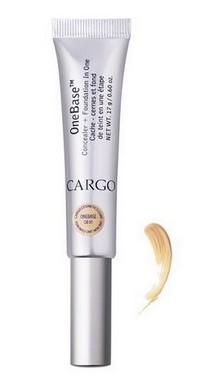
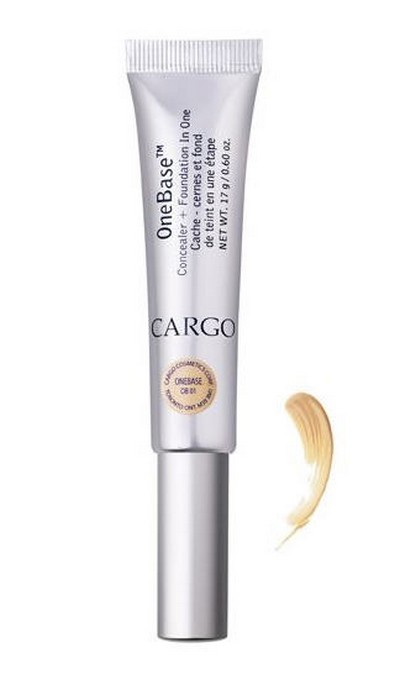
First, I use Cargo One Base Concealer + Foundation in One. Which does a great job with my dark circles and sunspots.
Second, I use Pores No More Hint of Tint in the areas where my pores need it the most.
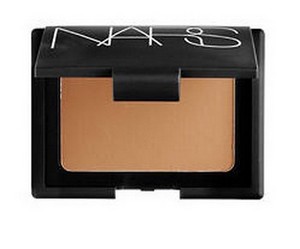
Third, I use Nars Powder Foundation SPF 12 to give my face a matte look
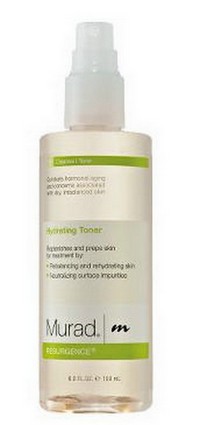
And after the base is done, then I do the eyes, lips, etc and give myself one spritz of Murad Hydrating Toner, which hidrates the face after all that makeup while at the same time helps to set it and now you’re good to go.
I’ll be honest: I took a before and after pic so you could all see the huge difference, but then I didn’t have the guts to post the pics. My nose looks huge because of the camera angle and all my imperfections would be too visible….but trust me I look like I have almost flawless skin!!
Homemade Yogurt Exfoliating Scrub
Back in my days as a retail slave I worked down the hall from Lush Cosmetics. I loved their products but I dreaded entering the store every time. I am horribly sensitive to scents. Every visit to Lush resulted in an empty wallet and screaming bad headache. I still cannot make it through the perfume section of The Bay without feeling nauseous. I decided while in makeup school to bypass the whole skin care shopping experience and see what I could figure out on my own. I love to cook, so I began focusing on creating DIY skin care products that I could make out of the basic pantry items I had on hand in my kitchen.
It appeals to my crafty, pioneer-like nature.
Did anyone ever watch Pioneer Quest on PBS?
Aww! I miss history-centric reality television. So deliciously nerdy! Why on earth is Fear Factor making a comeback and not 1900 House?
Sorry… got sidetracked.
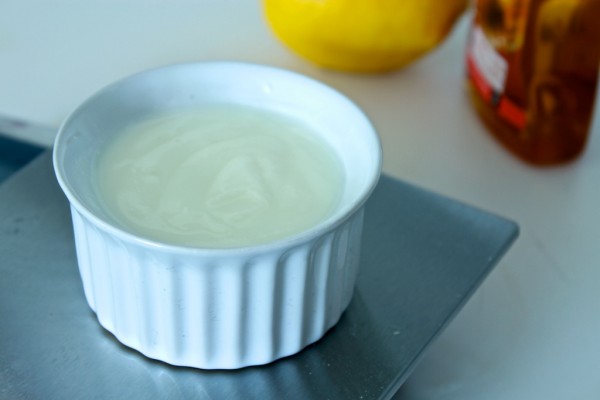
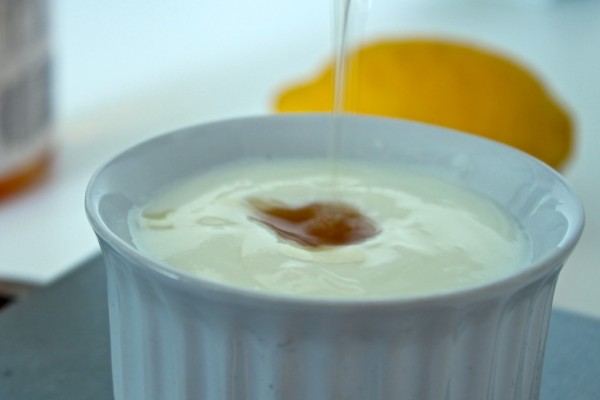
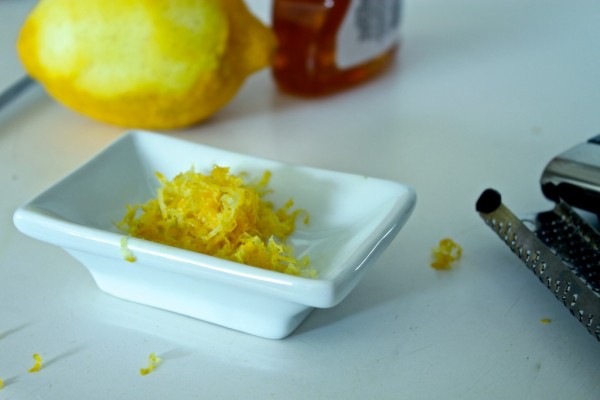
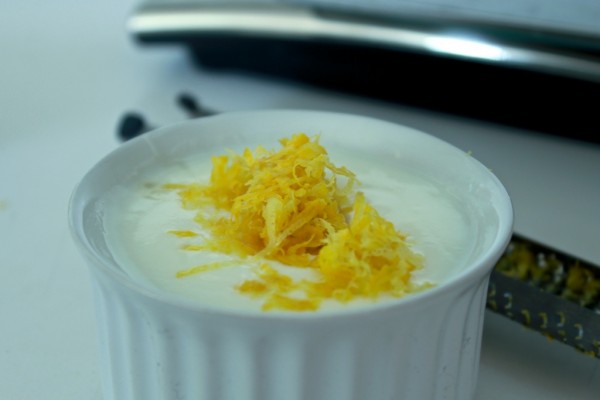
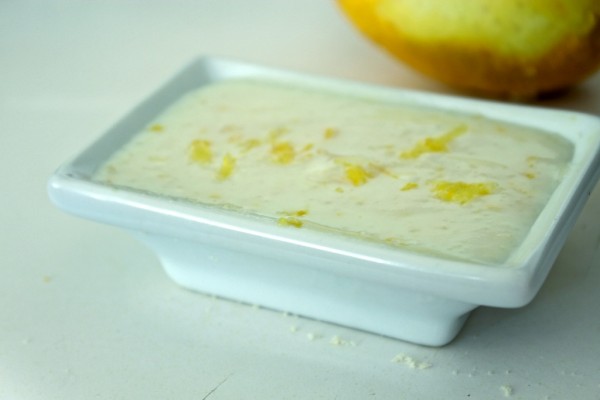
Anyway, without further ado here is the recipe for my favorite homemade exfoliant, complete with a refreshing, non-disgusting scent. This simple scrub takes a few pantry items to make and about ten minutes to mix. It contains plain yogurt, honey, lemon zest, and almond meal. Each component is beneficial to your complexion in its own way.
Yogurt is the ultimate skin remedy for this time of year. Yogurt is rich in zinc and lactic acid; these components help close pores, remove dead skin cells and prevent and reduce the appearance of fine lines and acne. You’d have to buy ten products at outrageous prices to do all that and I’m not done; yogurt is perfect for summer use, because it tones down freckles (thanks, once again, to our friend lactic acid) and eases sunburns. The perfect beachside companion.
Honey has been used in skin care since the Roman Empire. Honey contains natural humectants, which makes it the perfect moisturizer. Humectants have the ability to bind moisture to the skin, helping it stay hydrated. Honey is also a natural antioxidant, which helps reverse the signs of aging. It also has anti-inflammatory and anti-bacterial properties, so it is a potent acne fighter as well.
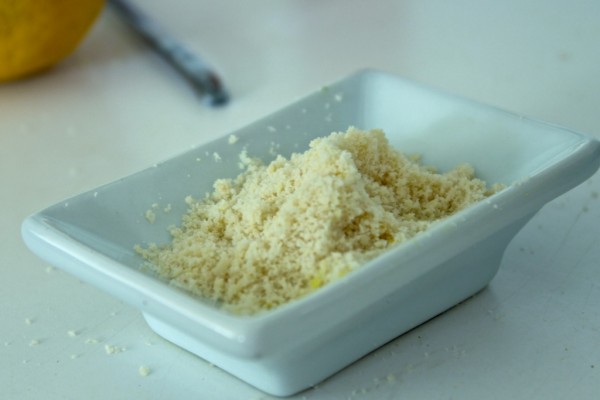
Almond meal acts as the exfoliant in this scrub. Be sure not to press too hard when scrubbing or you could scratch your skin. Almond meal replenishes the skin’s natural oils, which are often lost during the cleansing process, resulting in dry tight skin. Almonds also act as a natural toner. How awesome is that?
Lemon zest, like its friend yogurt, reduces the appearance of freckles and age spots. A little lemon juice can be used to lighten any skin discoloration on any part of your body (like your elbows). It removes dead skin cells and leaves behind soft even skin. To make the most out of the benefits of lemon juice add ½ a cup to your bath and soak for twenty minutes. Be aware that some skin types are sensitive to citrus acid. It’s best to try out a small, diluted amount of lemon juice on a patch of skin. Be sure to leave the sample to sit for fifteen minutes to ensure there is no reaction before proceeding.
Make sure to store the scrub in the fridge in a sealed container. The scrub should keep for approximately two weeks.
Yogurt scrub:
3.5 oz of plain yogurt (Greek yogurt works best)
Zest of half a lemon
1 tbsp honey
2 tbsp ground almonds
Directions:
Place all ingredients in a small bowl and stir to combine.
Apply to a damp face in circular motions working from the center of the face out.
Rinse with warm water and towel dry.
Heavy Duty Concealers
One cosmetic I can’t do without is a heavy-duty concealer. You see, once upon a time I got a very bad sunburn in my face and the aftermath resulted in a huge sunspot right below my right eye on the cheekbone area. To add insult to injury the dark circles under my eyes tend to join with the sunspot giving me an appearance I just don’t like.
And here comes the concealer to the rescue. Before I started experimenting with concealers I used to cover my sunspot on pictures with a dab of Photoshop. Lately I haven’t had to resort to that trick, even though I know my sunspot is down there somewhere, then again I have been trying on better concealers.
To show my commitment to get the best concealers, I went into Sephora without a trace of makeup so the clerks could see what they were dealing with and offer their expert advice. And if it wasn’t for them, I would never have checked some of these brands. The following are some of the brands I liked and the one that’s won my loyalty.
Almay
Smart Shade Anti-Aging Concealer
The great thing about this concealer is that it’s muti-purpose. Light weight, matches your skin tone, fights the signs of aging and it has SPF 20. This product is great for minor corrections, works well with any foundation. For major cover-up you would need to pile it on, which defeats the purpose of trying to look flawless.
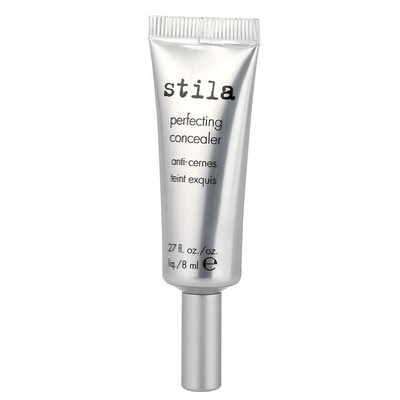
Perfecting Concealer
Now talk about heavy duty! This concealer is capable of covering a dark mole, it leaves a semi-matte finish and it did a great job covering my imperfections. The only thing about this concealer was that I found it to be too thick. Other than that I loved it.
Make Up For Ever
HD Concealer
This product was created for those of us who try to get in front of the camera as much as possible in order to keep adding more pics to our Facebook profiles. They can explain it better than me:
The MAKE UP FOR EVER HD Complexion products use innovative formulas to create a new generation of make up which is both invisible on HD cameras and to the naked eye. The HD Concealer covers imperfections and creates a “soft focus” effect around the eye area for a natural, radiant look.
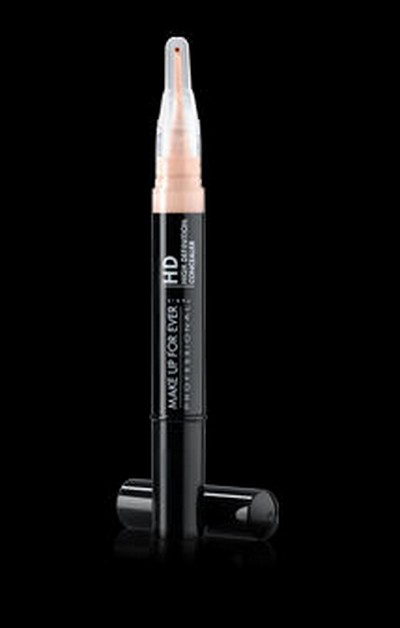
The HD Concealer can be applied with a built-in silicone brush. On this product I will need to do more testing and comparisons since I didn’t notice a big difference between this and the next concealer I’m about to talk about.
Cargo
OneBase Concealer + Foundation In One
The reason this concealer won me over is the fact that its light-weight, covers my imperfections and can also be used as foundation. For those times I run out to the store for a quick errand and don’t want to put on full make-up I just use OneBase with its handy applicator and I’m off the door knowing my dark circles and sunspot are safely hidden.
Regardless of which concealer you use, remember to pat it on. Don’t rub it in, especially in your delicate eye area. Of course, the best way is to apply it is by using a concealer brush. One thing I’ve noticed is that with the brush I need to use less product than when I use my fingers.
Cosmetics Palettes: Smashbox, Sephora, Kat Von D
Maybe you might have noticed I write about all type of cosmetics, except for eyeshadows. There’s a very good reason for it, and it’s that I’m awful at putting on eye shadows. No matter how much I try or practice, it still seems like a 5-year-old did it. But recently I’ve seen several sets that are tempting me to keep on trying and master the art of applying eye shadow.
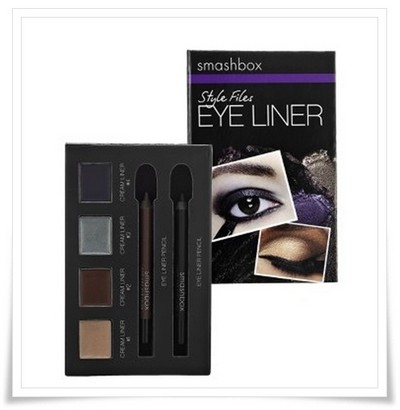
- 8 eye shadow colors ranging from neutrals to dark jewel tones.
- 4 cream eye liners in golden beige, warm brown, gunmetal gray and deep purple.
- 2 pencil eye liners in black and brown.
- 2 lip gloss in coral and nude champagne.
- 2 cheek shades in peachy pink and suntan beige
- Bonus: Photo Finish Lid Primer Packet
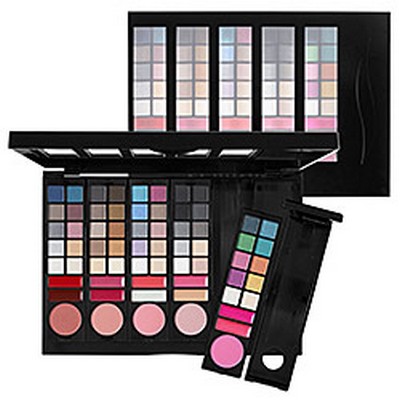
I bought Sephora Color Play – 5 in 1 II – Fashion Edition for my sister over the holidays and she loves it, then again, she knows what she’s doing. The cool thing about this one is not only the huge amount of cosmetics you get, but they are also portable. The set comes with an empty case so you can pick one of the sub-palettes and take it with you.
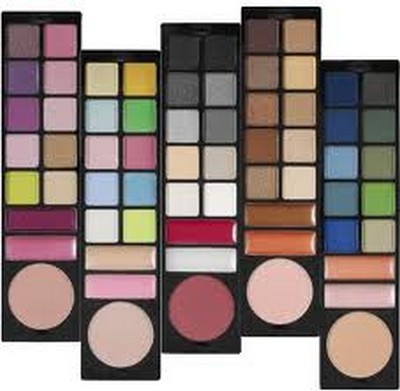
Stories for the five sub-palettes:
- Boho Bombshell: dark blues, warm taupes, warm golds
- Classics Never Die: brown smoky eyes
- Angelic Boudoir: nudes and sands, with a touch of bright blue and fuchsia
- Black Is The New Black: black smoky eyes
- A Nod To Mod: bright blues, greens, pink, purples
Each of the five sub-palettes includes:
- 10 eye-shadows
- 2 lip colors
- 1 blush
Of course when it comes to eye makeup, I yield the floor to the amazing Kat Von D.
“This is dedicated to those who are self-created, self-reliant, self made, and independent.” —Kat Von D
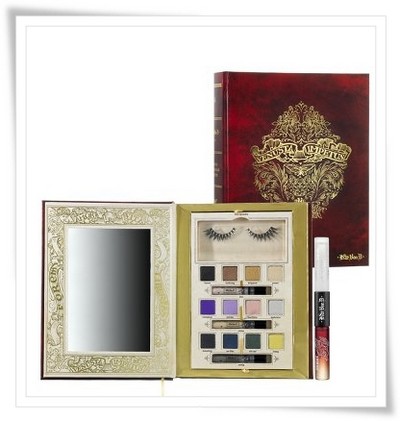
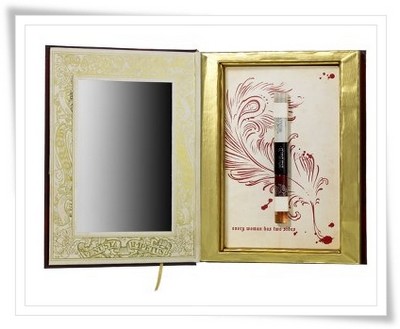
Unlike the other sets the Tattoo Chronicles Palette concentrates only on the eyes. This set is dedicated to make your eyes look like a rock-star, the set itself looks very cool and has a secret compartment with a double-ended rollerball fragrance sinner and saint.
This set contains:
- 1 pair False Eyelashes
- 12 Eye shadows in Tijuana, Taxidermy, Hollywood, Peanut, Redemption, Solitude, Heartkiller, Baudelaire, Monastary, Poe Blue, Nite Owl, Lemmy
- 3 High Voltage Primers in Skin, Stellar, Smoky
- 2 Double-Ended Saint/Sinner Roller-ball
Temptu Airbrush
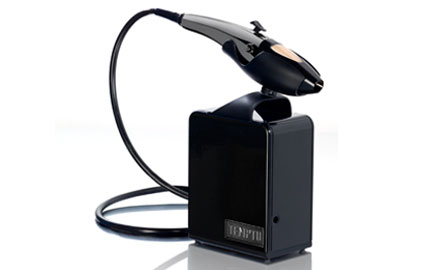
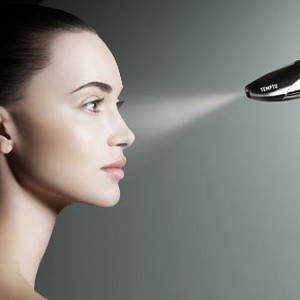
I went over to Sephora for a demonstration on a really cool product, which is the Temptu Airbrush system. Airbrushing makeup is not a new concept, professional makeup artists have been doing it for sometime, but the equipment was very bulky and the compressor felt so powerful the one time I did it I could barely breathe. Even though Temptu is not necessarily inexpensive, its also not out of reach for the non-professional makeup artist.
The makeup itself comes in packages of 1 or 2 pods, but even if you use them everyday, they will last for many months.
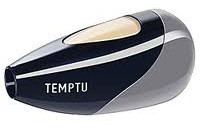
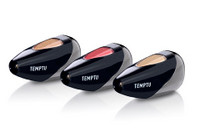 The only thing I can say after using the product is that it made my T-Zone very shiny, I had to blot it and add a bit of powder one hour after application. It had a pleasant scent, but if you’re too sensitive to smells then it will overwhelm you. It didn’t fade throughout the night and was very easy to take it off at the end of the evening.
For now the only airbrush makeup offered is the Foundation, Blush and Highlighter and of course, Temptu does offer a line of Traditional Makeup. I definitely recommend getting at least a demo presentation at Sephora….maybe before going on a date or a party.


